Help Center / Bookkeeping / Everyday tasks
Issue a sales invoice
Create and approve a sales invoice, then mark it paid by matching the customer's payment.
3 min read
- Create and approve a sales invoice
- Mark it paid when the money arrives
A purchase invoice is a bill you received. A sales invoice is a bill you send — your customer owes you money.
Creating one
Open Accounting → Sales Invoices and click + Create Sales Invoice. Choose the customer, add the lines, pick the SST code if you charge it, and Fortura prints the PDF for you to send.
What approving does
A new sales invoice is not in your books yet — it waits for approval like any other document. Approving posts it:
- DR Trade Receivables — what your customer owes you.
- CR your income account — the sale you made. Where SST applies, the tax is carved out to SST Payable.
Getting paid
When the money arrives it appears on your bank statement. Matching that line in Bank Reconciliation is what marks the invoice paid — nothing else does.
To see who owes you, open Accounting → Aging Accounts and switch to Customers. It groups what is outstanding by customer and by how late it is.
Step by step
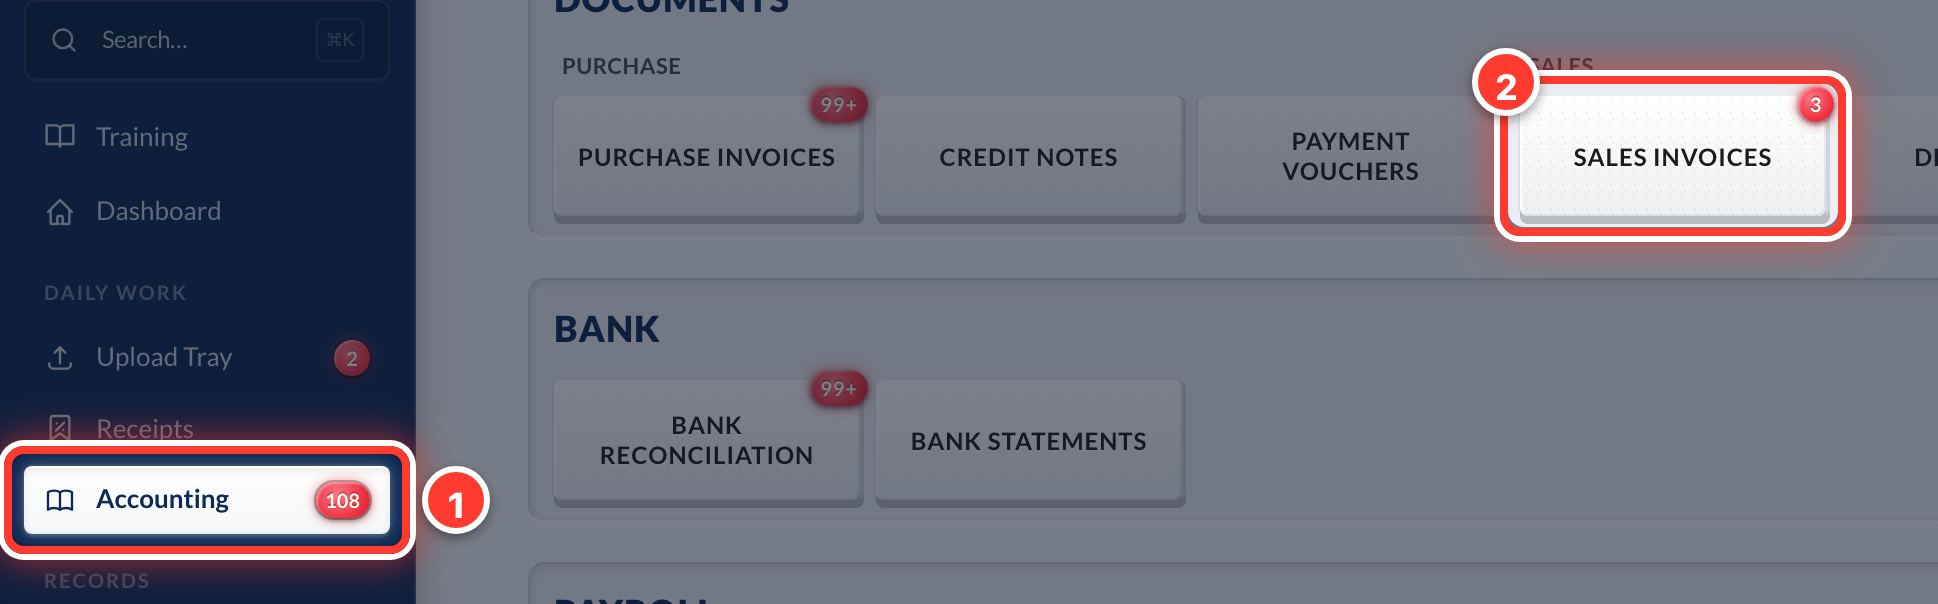 1Open Accounting in the sidebar, then Sales Invoices.
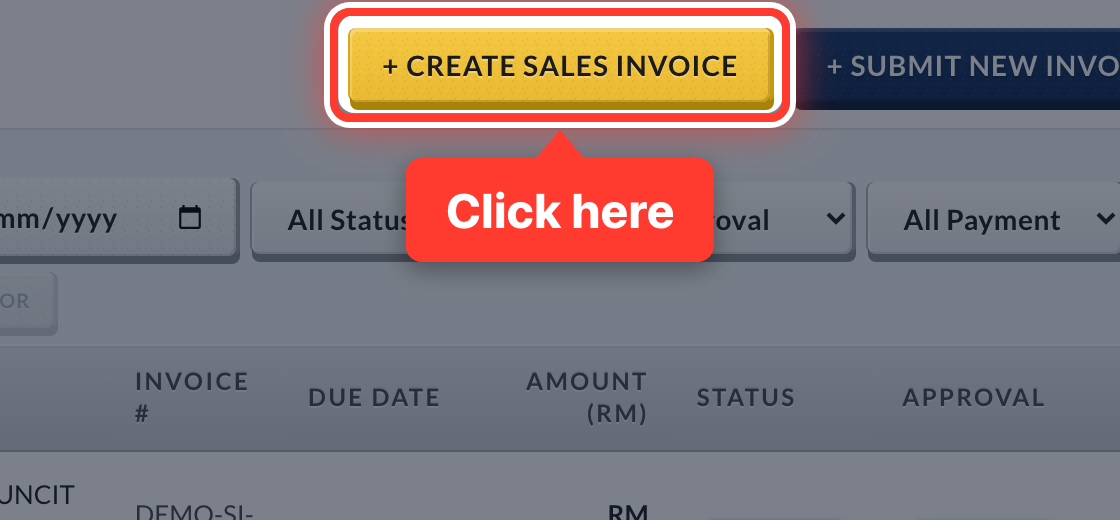 2Press + Create Sales Invoice.
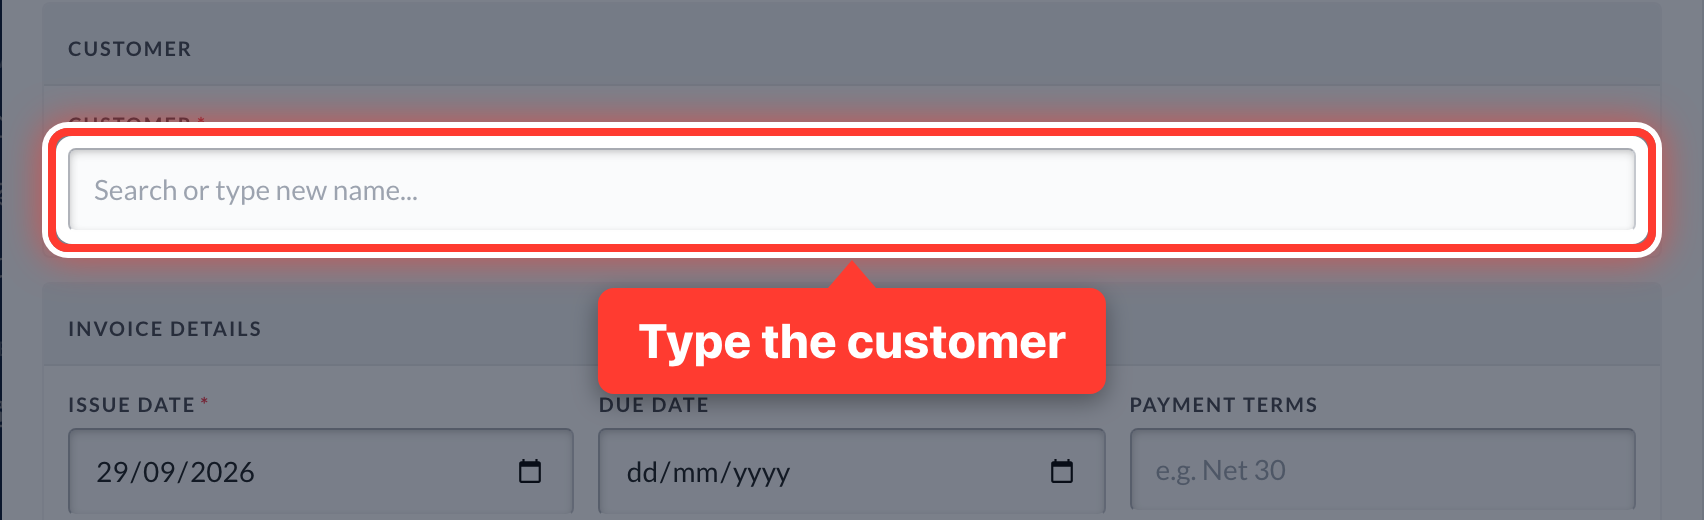 3Pick the customer — or type a new name.
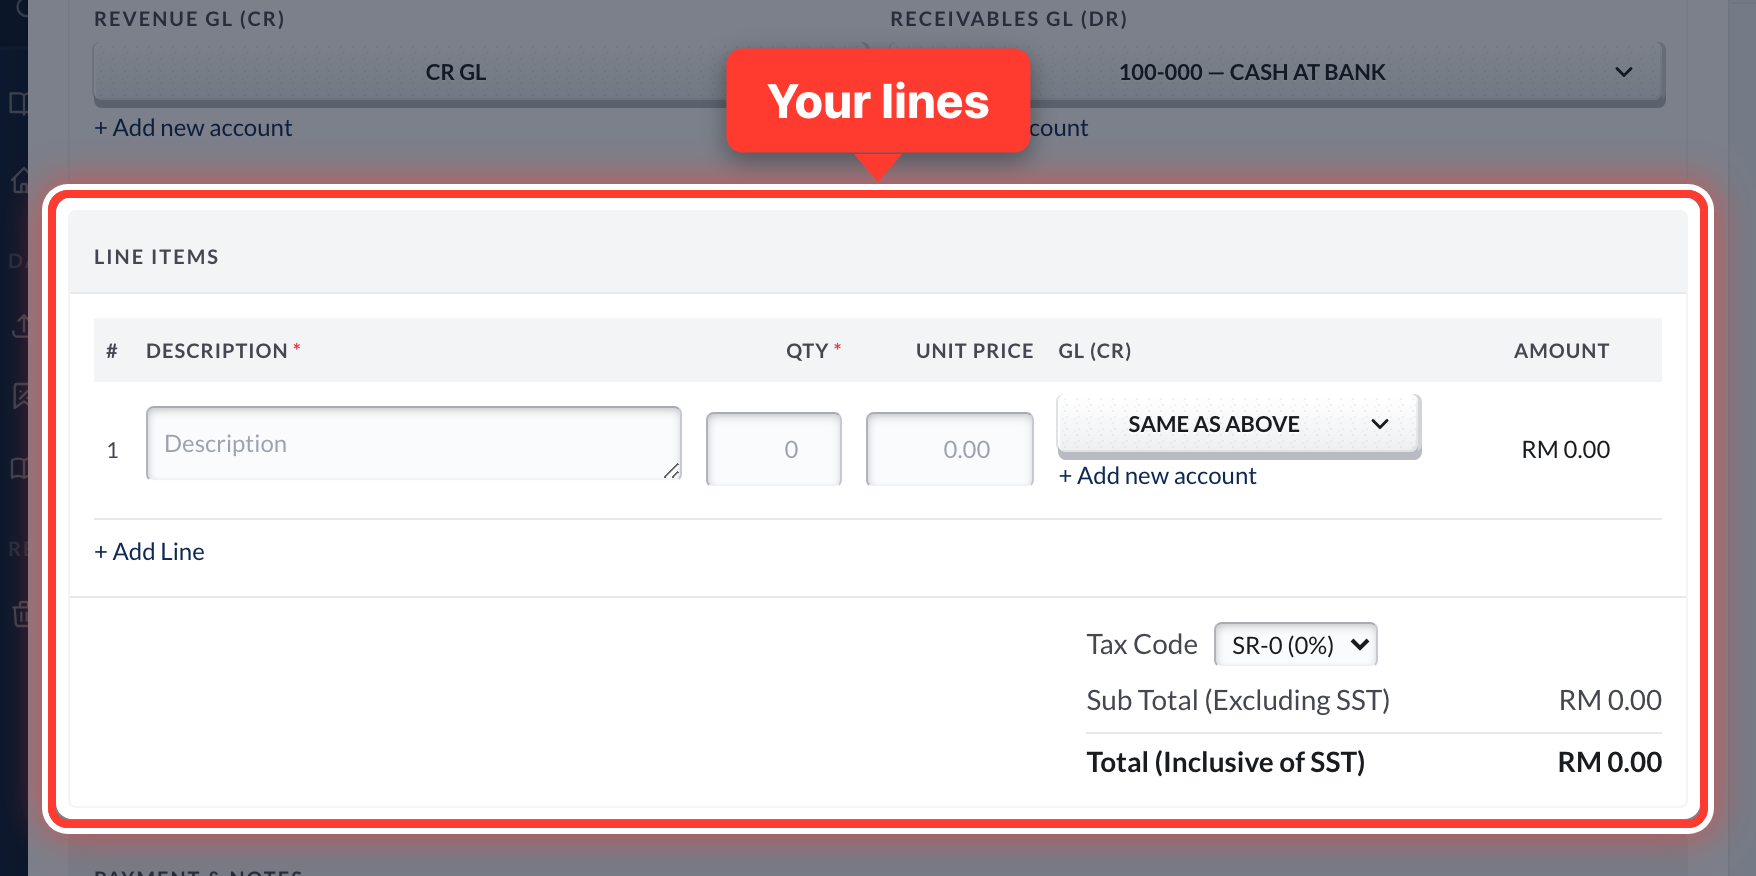 4Add a line: description, quantity and price. The Revenue GL — such as Sales — sits just above.
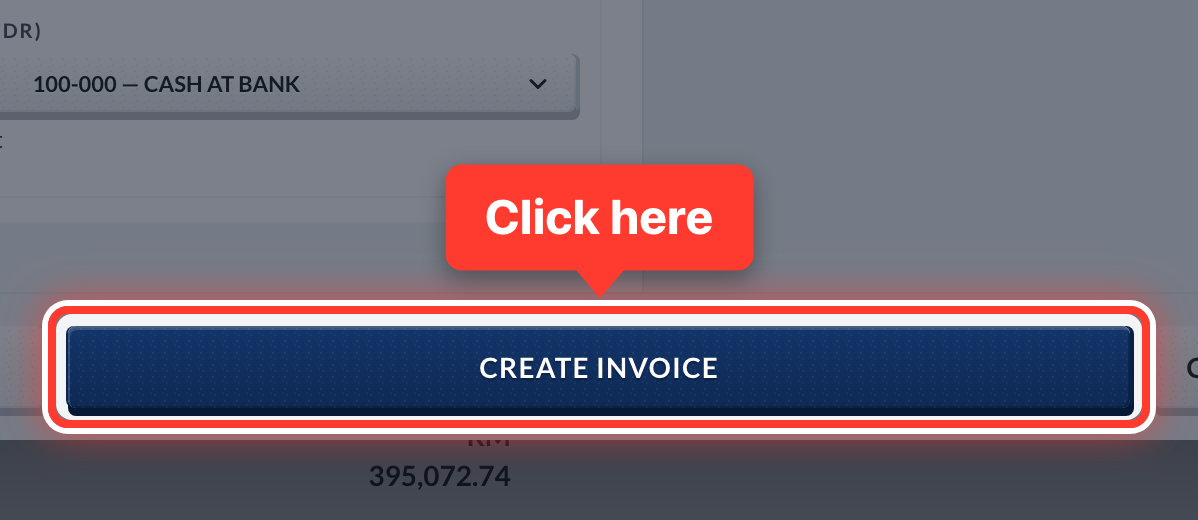 5Press Create Invoice. Then open it from the list and press Approve — now it is in your books as money owed to you.
- 6When the customer pays, match the bank line to the invoice in Bank Reconciliation.
Got a question or stuck on something? Our team is happy to help.
Contact support